Wednesday, April 28, 2021

The Empire Strikes Back: A Review of "Mrs. Thatcher's War: The Falklands, 1982"


In 1982, my friends and I were sophomores in high school.  We were gamers, and we were interested in military matters in general, so when Argentina invaded the Falkland Islands we knew things were going to get interesting.  

Now, going on forty years later, I was interested in finding a wargame of the Falklands War that captured some of the essence of the conflict.  I had played through Falklands scenarios in Larry Bond’s Harpoon which did a good job of gaming the naval aspects of the war, but they included nothing of the land war or the geopolitics of it.  Ditto for the 80s/Falklands expansion to William Miller’s Modern Naval Conflicts: 1970s.   I looked around at the various Falklands-specific offerings currently available---both contemporary and recent---and landed on Ben Madison’s Mrs. Thatcher’s War: The Falkands, 1982 (White Dog Games, 2017) as the most likely to provide what I was looking for.  


I was not disappointed.  


White Dog offers the game in Boxed, Folio, or Print-and-Play editions at varying levels of price; I opted for the Boxed version, since I usually prefer to avoid making my own game elements unless I am playtesting or running a mod, and since I had never yet ordered from White Dog and was curious to see how they stacked up against other game companies.  The production quality was very good, with some beautiful art and design work on the cover and throughout the other elements.  The main maps and cards were heavy enough to stand up to frequent use, and the counters have the thickness and tensile strength of plywood, with a linen-textured finish for good measure.  White Dog doesn’t ship their games with dice anymore, which didn’t bother me in the slightest; dice are cheap and easy to acquire at local stores, and as a lifelong gamer I have more six-sided dice floating around in my desk than I do paperclips.  In short, I found the game as a product well worth the price charged, and I’ll be ordering from White Dog in the future as the opportunity arises.  


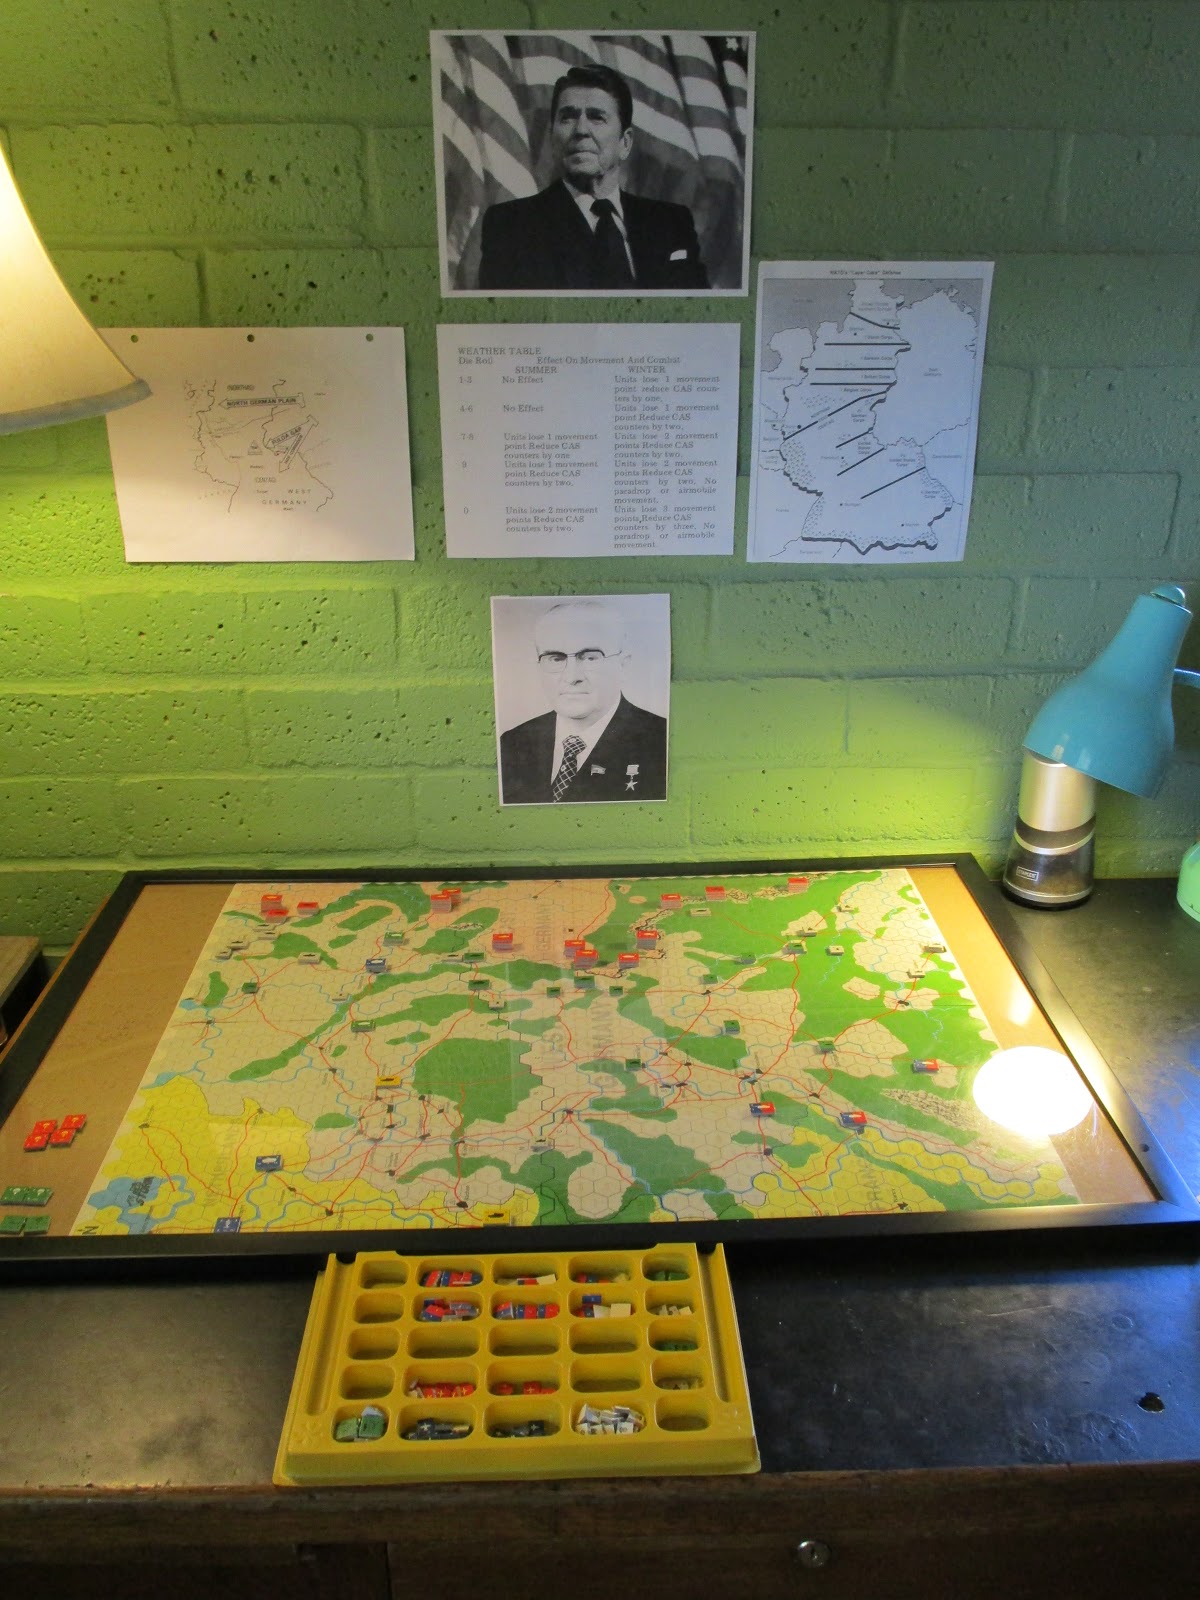
MTW is designed to be set up easily, and has a minimum of components and fuss---two small maps, a couple of player-aid cards/charts, a handful of counters, and the rulebook.  After punching out, it took me all of 10 minutes to set up the game, and even less the second time around.  Don’t be put off by this, however; MTW is not a simple game.   Although it has a high level of abstraction (if you are looking for a hex-based grognard-fest with more chrome than a ‘57 Bel-Air, you will be disappointed),  the game achieves a complex balance between military tactics and political strategy---something difficult to game and, I found, even more difficult to master.  


The military side of the game is fairly traditional. The game is divided into Turns, which simulate 3 days of real time.  Your overall objective is simple: liberate the Falkland Islands from Argentine occupation by achieving military control of Port Stanley by the end of Turn 19, or as soon as practical.  There is, however, a catch: with the exception of a number of possible SpecOps raids, you can’t actually put boots on the ground on East Falkland until at least Turn 7, and even then only if the weather cooperates.  And in MTW, the weather almost never cooperates.  In the game, as in the actual campaign, Weather gyrates between being a close ally and a frustrating enemy, and is a major factor in the success or failure of your operation.   


Air Combat resolution is Odds-based, calculated using the relative Strength Points of the opposing forces; Ground Combat is s simple “Who is the toughest?”. with Strength mods for naval gun support, air support, public perception of the war (the BBC Score), and even whether or not the Pope is on his infamous PR tour.  The system is straightforward and works smoothly, in my opinion, and some of the mods have a dark humor to them which I appreciate.  


Movement at best possible speed is a crucial factor for achieving victory for the British, whether legging it (“yomping”) or going air-mobile, and like the Combat system it is straightforward and easy to master.  Of course, it is not as simple as all that.  Units must maintain their Supply to move, and there are a number of things that can bog a unit down, whether it is opposing forces or minefields.  Helicopters can be useful, but they are not available at first landing and, depending on circumstances, may end up not arriving at the Islands at all.  Even when present, helicopters can be suppressed by Weather and a loss of Air Superiority by the British in the sector.  


If the Military side of the game has a traditional order and logic to it, the Political side of it is just the opposite.  Affecting the game in major ways, you have: the United Nations, operating with its usual blend of high ideals and low ethics; your Continental “allies” (which is an amusingly-relative concept in Europe) and the supportive but often contradictory United States; the Vatican; various Third World nations, and the BBC.  In a skillful abstraction of a very complex situation, Madison caps each Turn with a dip into the Specific Headlines of the conflict, each of which can affect the game---an engine which functions as a sort of random Chaos generator which can (and often does) throw a monkey-wrench into the best tactical military planning. This function in the game does not feel at all contrived, however; it is a well-designed way to capture the absurd degree to which internal and international politics dictated the prosecution of the war, and it is one of the greatest strengths of Mrs. Thatcher’s War, in my opinion.  


This is not to say that the Political game turns on the ‘hazard of the die,’ however; your decisions can have a major impact on the British public’s support for the war which, in turn, can affect your operation.  In the first round I played, I made a very sound tactical decision and executed it flawlessly, securing my SLOC (Sea Lines of Communication) and eliminating a major threat to my ground forces...and it contributed heavily to my losing the war as the effects of negative Public Opinion disrupted those very ground operations.  To mount a successful campaign, careful thought must be given when making major tactical decisions, and second-guessing yourself in light of potential political effects becomes depressingly commonplace.  


In closing, like all games Mrs. Thatcher’s War is not for everyone.  This game is not a detailed simulation of military operations during the Falklands campaign, nor was it designed to be.  It is a very challenging, thoughtful, and---ultimately---honest attempt to capture the basics of a very complex situation, and to give the player some feeling for the challenges that confronted those who lived through it.  I find it succeeded.  


Sunday, April 25, 2021

The Great Debate: Grognard, or Eurogamer?

 I posted this a few weeks ago for a general thread on Wargames on BoardGameGeek.  It was meant as a comment on the juvenile, "much ado about nothing" nature of the debate.  Personally, I tend to fall more on the grognard side of things, but I am very much a To Each His Own kind of guy.  

Cartoon from Berg's Review of Games #18

Grognards: (as viewed by Eurogamers)

  1. You view anything other than ¼” monochromatic counters emblazoned with military unit symbology as “bells and whistles”

  2. A ruleset less than 10 pages long is “overly-simplistic”

  3. Six-sided dice are holy relics; polyhedrals or cards profane the Temple of Gaming

  4. The visible universe is divided into scaled hexes; anything else is a gross misrepresentation

  5. You refer to the day SPI closed up shop as “The Day Gaming Died”

  6. You know who Richard Berg is and consider him a role model

  7. “If you don’t like losing, you shouldn’t sit at the gaming table, kid.”

  8. If a game takes more than two hours to play...good!

  9. Game reviews are to be read, not seen on ‘YouTube’. 

  10. “Historically-accurate” and “fun to play” are antithetical concepts.


Eurogamers (as viewed by Grognards)


  1. You consider playing wargames from the 20th century akin to watching TV in black-and-white.

  2. A ruleset over 3 pages long is “needlessly complex” and the result of bad game design.

  3. “Who needs dice?  I have a Random Generator app on my iPhone.”

  4. You proudly wear a T-shirt bearing the motto, “Abstraction Is the Spice of Life”

  5. “Wargames?  Sure, I play wargames.  My gaming krew and I have Risk sessions in the dorms two weekends a month.”

  6. You roll your eyes at the thought of using scaled maps as gameboards (assuming you knew how to read them in the first place…)

  7. There are no Losers; there are only graduated classifications of Winners.  

  8. If a game requires more time than it takes for the players to kill a pizza and a 2-liter of Dew, it takes too long.

  9. If a game requires more knowledge of history than a Disney film, it stays on the shelf.

  10. “How is a rectangle with an oval in it a tank?  Why don’t they just show a tank?  Better yet, give us little plastic or wooden tanks, or something.”  


Saturday, April 17, 2021

Ira Harris, Jr., USN (1848-1915)

 A few weeks ago, I went to the old Pioneer section of the city cemetery in Modesto, CA.  I went seeking a pair of 1840s vintage 24-pound coastal defense guns which serve as honorable sentinels of the Grand Army of the Republic plot, wherein rest veterans of the Civil War.  I found the guns, but I took the time to examine the graves of the honored dead, as well.  To my surprise, there were three veterans of the United States Navy buried there, the only Civil War sailors known to be buried in the whole county.  

With two of them---William J. Givens and James M. Dings---I was able to find nothing beyond their names and dates of death and burial.  The third, h0wever---Ira Harris, Jr.---I was able to find quite a lot about. 

Ira Harris, Jr. was born in Smithfield, Rhode Island on November 11, 1848.  His father was a successful wheelwright and blacksmith.  On July 15 1863 (at the age of 15), Ira volunteered for the US Navy, and was assigned to the USS New Ironsides, the first in its class of ironclad steamers which had launched in Philadelphia the previous year in 1862.

USS New Ironsides under sail

He was aboard her in time to be a part of Rear Admiral Samuel Francis DuPont’s attacks on the fortifications of Charleston Harbor (New Ironsides was DuPont's flagship), participating in the attacks on forts Wagner and Sumner, including the gallant action protecting the monitor USS Weehauken. On October 5, a Confederate torpedo-boat managed to detonate a spar torpedo against New Ironsides’ starboard quarter, causing some damage and wounding a number of sailors, but she stayed on station until May, 1864 when she returned to Philadelphia.  While in Philadelphia, Ira Harris, Jr. was medically-discharged due to an embedded shell fragment, and an injury sustained while manning a gun---a true fighting sailor. 

Harris returned to Smithfield to learn the trade of his father, and became a successful carriage-maker in his own right.  In 1879 he emigrated to Colorado, then moved on to San Francisco five years later.  A few months later he moved inland to Modesto, where he worked under a few other tradesmen before opening his own carriage-making shop.  He became a successful businessman, active in many organizations and eventually being elected a City Trustee in 1899.  He would live to see his son serve with distinction as part of the 6th California Volunteer Regiment during the Spanish American War.  He died on October 20, 1913, and was laid to rest with his fellow Civil War veterans.  

Fair Winds and Following Seas, Mr. Harris.  


Sources: USGenWeb, DANFS, and A Volume of Memoirs and Genealogy of Representative Citizens of Norther California. Standard Genealogical Publishing Co., Chicago, 1901 (d0wnloaded 4/13/21 from Google Books).


Saturday, March 20, 2021

Retired in Newman, CA: Model 1890 7” Siege Howitzer

 Although not of naval origin, this piece is rather unusual and worth taking notice of.  


In Pioneer Park in the small, West San Joaquin Valley town of Newman, CA, I found this rather striking piece of artillery.  I had never seen one like it, but, using the markings on the piece, itself, I was able to find out what it is.  Like most complex machines, a artillery piece is a sum of components, chiefly the gun barrel and the carriage.


The barrel is a Model 1890 breech-loading 7” rifled siege howitzer. It was produced at Watervliet Arsenal, NY in 1900, and is #39 of those produced. The trunnion is marked “B.A. & I. Co. Steel Model 1890”; I have been unable to trace the steel manufacturer.


The carriage is a Model 1893 manufactured at Rock Island Arsenal, IL in 1901, and was #38 of those produced.  Presumably, the weapon also had its final assembly at Rock Island.  

Although I have been unable to trace any of the history of this piece so far, it can be assumed that it never saw combat.  The gun was extant at the time of the First World War, but it was far too heavy to have been used as field artillery; the barrel, alone, is almost two tons (3,710 pounds, as marked.)  The carriage would probably add at least another ton, by my estimation, so this is not a gun to be towed around frequently. 


The gun required 6 horses to tow.

This weapon was designed to be used with fortifications, with its height allowing it to be fired over an embrasure while allowing the crew to remain behind cover.  As far as I have been able to determine, these guns were produced until at least 1913, and possibly after.  


I will post updates on this weapon if I discover anything more about it. 


(Historical images courtesy of the National Archives)


Saturday, March 13, 2021

At War with the Evil Empire: A Review of "The Red Storm"

Yaquinto Games, 1983

Last year in a fit of 80s nostalgia I acquired a copy of J. Michael Hemphill's The Red Storm unpunched and in very good condition, albeit yellowed with age (it is pushing 40, after all...). Since I like historical wargames, I was curious as to how accurate the designer's unit designations and overall historicity fared thirty years after the Soviet Union collapsed and the scenario was relegated to "alternate history" status. 

 On the NATO side, Hemphill really did his homework; considering that he had to have developed the game between 1979-1982, his unit IDs and their placement for 1983 is excellent with very few errors. I am particularly impressed with his inclusion of the six established West German Heimatschutzbrigaden (HSchBrig), or Homeland Security Brigades. These were units consisting of mostly reservists that provided rear-area security and defense against para-troops or infiltration groups. While he chose not to reproduce what was called NATO's "layer-cake defense," he did assign initial unit placement with the proper army groups, dividing the map into BALTAP (Area K), NORTHAG (Area N), and CENTAG (Area C) and assigning units with almost complete historical accuracy. In my setup, I went one step further and ensured that my divisions were placed within their proper "layers" in each Area Command. I also researched the location of numerous army airfields and bases so my placement of the various air assault and attack helicopter brigades would be a bit more historical. 

The calm before the storm: initial NATO unit placement

On the Pact side, however, Hemphill is on shakier ground. To be fair, the up-to-date placement and assigning of Soviet and Pact divisions within the German Democratic Republic (DDR, aka "East Germany") would have been difficult to obtain in the late 70s-early 80s. Still, Hemphill does get quite a few of the units right, in particular the Soviet divisions present in the DDR, but there are inconsistencies in the OB although they do not affect the game in any significant way. 

The game, itself, was very well produced, and bears the trademarks of Yaquinto's all-too-brief history: double-thick counters, and maps of heavy, coated paper that neither tear nor wear easily. The artwork is well-done, with the map featuring a somewhat-abstracted West Germany divided into scaled hexes, with top-down views of terrain features and surrounded by both allied and enemy countries. For the counters, the designers chose to go with silhouettes for the various unit-types, rather than the NATO Standard symbols, and the unit nationality is indicated by color variation. This makes the game more approachable and easier to play, especially for new or first-time players not familiar with wargaming. Personally, I could have gone either way as I am comfortable with either format. 

The game is played at the operation-scale with most units at the division level, with a small number of brigade-units when necessary, or when breaking down Airborne or Air Assault divisions. Combat is resolved using an Odds system. Provision for counter-assault is made by allowing a defender to engage an attacker, although at slightly reduced effectiveness. Terrain effects are straightforward and easy to remember. Airborne drop survival rules are a weak point, in my opinion, since distance from friendly units would have no bearing in drop survival unless the division is being dropped in "Indian country." There is also no provision for drift. 

There are a number of ‘special’ attacks that can be made, either before or during the Ground Combat phase for each side. Close Air Support (CAS) can be used, with the number of units determined by die roll and Turn number, and modified by Weather variables. Artillery barrages can be called by the Pact player, either as its own attack or in conjunction with a ground assault---but there must be sufficient ammunition, and the supply is finite. The use of special, high-tech munitions by NATO against mass Pact formations fall under the abstraction of Assault Breaker attacks; they, too, are of limited supply, and become less numerous as time goes on. NATO also has the option of assaults by Attack Helicopter battalions, which have the key strength of being able to assault a single division while it is in a stacked formation; unfortunately, AH units can be savaged and Disrupted by divisional AA, and can (unlike CAS units) be destroyed.

After all of the “special” attacks like possible CAS, Attack Helicopter, Artillery Barrages, Assault Breakers, and possibly Chemical/Nuclear, it still comes down to armor and ground-pounders shooting at each other. An attack against a ground unit takes into account relative Attack/Defense Factors, terrain, external support (CAS, Artillery, etc.), and previous levels of Disruption, if any. All of these are then combined to determine the Odds between the two forces, then rolling for results on a table, both for the Attacker’s assault and for the Defender’s counter-attack. I have always liked and preferred the “simultaneous damage” approach, and it works well in RS

The storm front: PACT positions on the eve of invasion.

Victory for either side is determined by a point system. For the Warsaw Pact, points are accrued by taking and holding West German population centers, each of which has a specific point value. For both sides, points are accrued by the number of enemy units eliminated. So, NATO achieves victory by minimizing the number of points accrued by the Pact, either by successful defense or retaking of urban centers, or by eliminating enough Pact units to put a dent into the Pact’s score when the results are tallied.

The weakest area in gameplay is Air Warfare. There is an optional Air Superiority system which relies more on luck than technology and other factors, and which is also somewhat clunky to use. It is the least attractive part of the game mechanics, in my opinion, and it skews the game in that air superiority and CAS were primary to NATO defensive strategy, and would be tilted in NATO’s favor. This is one area when Hemphill’s apparent desire to avoid a lot of “chrome” actually shortchanges the game. For the purposes of my game, I chose to use CAS only, ignoring the optional rule.

One optional rule that makes life harder for the NATO player is the French Intervention Rule (17.0). In essence, France holds its units back and avoids involvement until Turn 3, when France examines the current strategic situation and decides whether or not it will support NATO, and to what degree if the answer is positive. While the fickle nature of the French is well-known, and de Gaulle’s withdrawal of French military forces from NATO is equally well-known, the Intervention Rule was based upon incomplete knowledge on the designer’s part; we now know that France had signed classified agreements with the US to honor its military commitments to NATO in the event of war with the Pact. While an interesting “what if” and, in its way, darkly humorous, it is not historically accurate.

On the whole, the game is solid. There are, however, several weaknesses which can affect gameplay and which (to me) hurt the game’s authenticity. It’s not a bad game to play, and it moves with speed since chrome is kept to a minimum, but I usually prefer a bit more detail and complexity in my games.  It will be interesting to compare it with The Third World War, which will be re-released by Compass Games later this year.